Table of Contents
Dreaming of a wedding bouquet that's both stunning and eternally beautiful? Forget wilting flowers – let's create a show-stopping paper rose wedding bouquet! This article is your comprehensive guide to crafting the perfect paper floral arrangement, a keepsake you'll cherish long after the "I do's." We'll journey together, step-by-step, from selecting the ideal style for your paper rose wedding bouquet to the final flourish of presentation. Get ready to explore a world of creativity and elegance as we delve into the art of paper flower making. Discover a range of techniques to create lifelike paper roses, learn how to assemble them into a breathtaking bouquet, and finally, understand how to preserve and display your masterpiece. Whether you're a seasoned crafter or a complete beginner, this guide will empower you to create a truly unique and unforgettable paper rose wedding bouquet. So gather your supplies, let your imagination bloom, and let's get started!
Choosing Your Paper Rose Wedding Bouquet Style
Choosing Your Paper Rose Wedding Bouquet Style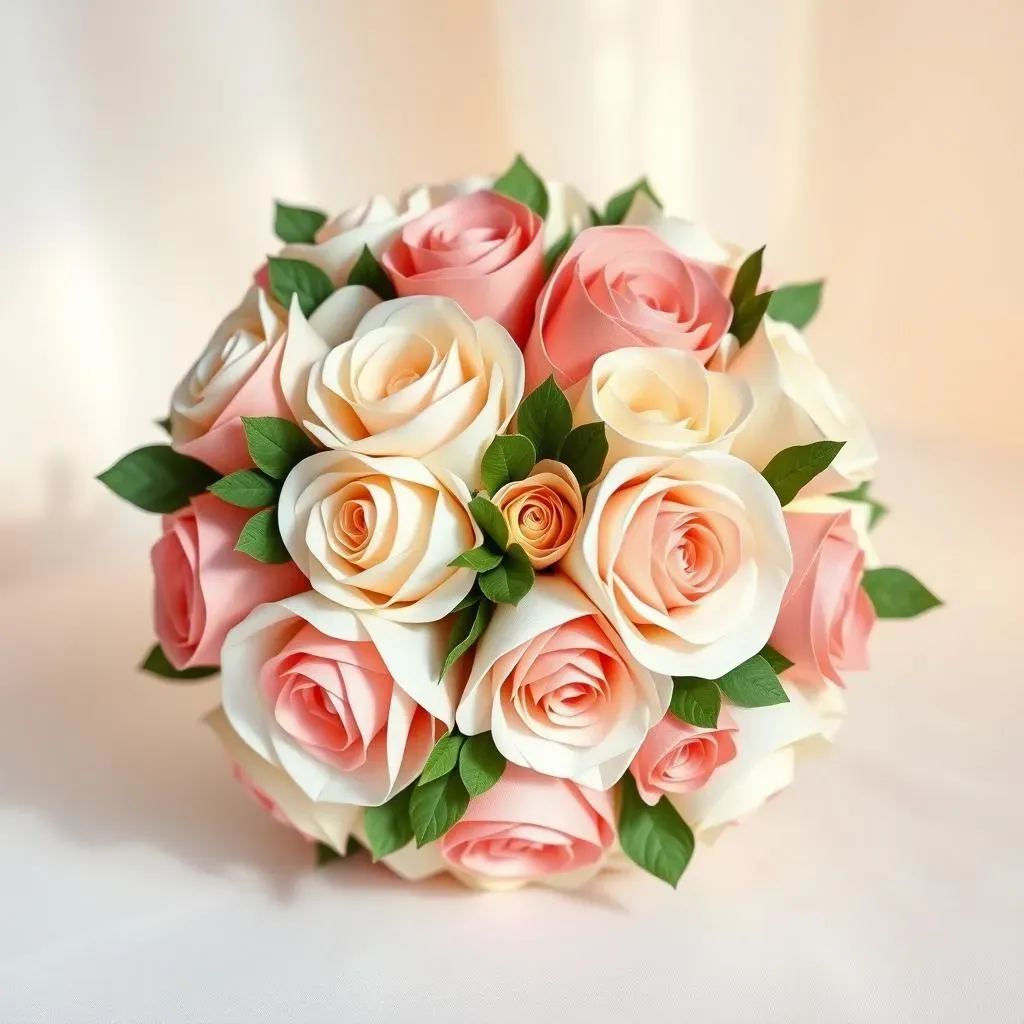
Classic Elegance: The Timeless Appeal of Traditional Bouquets
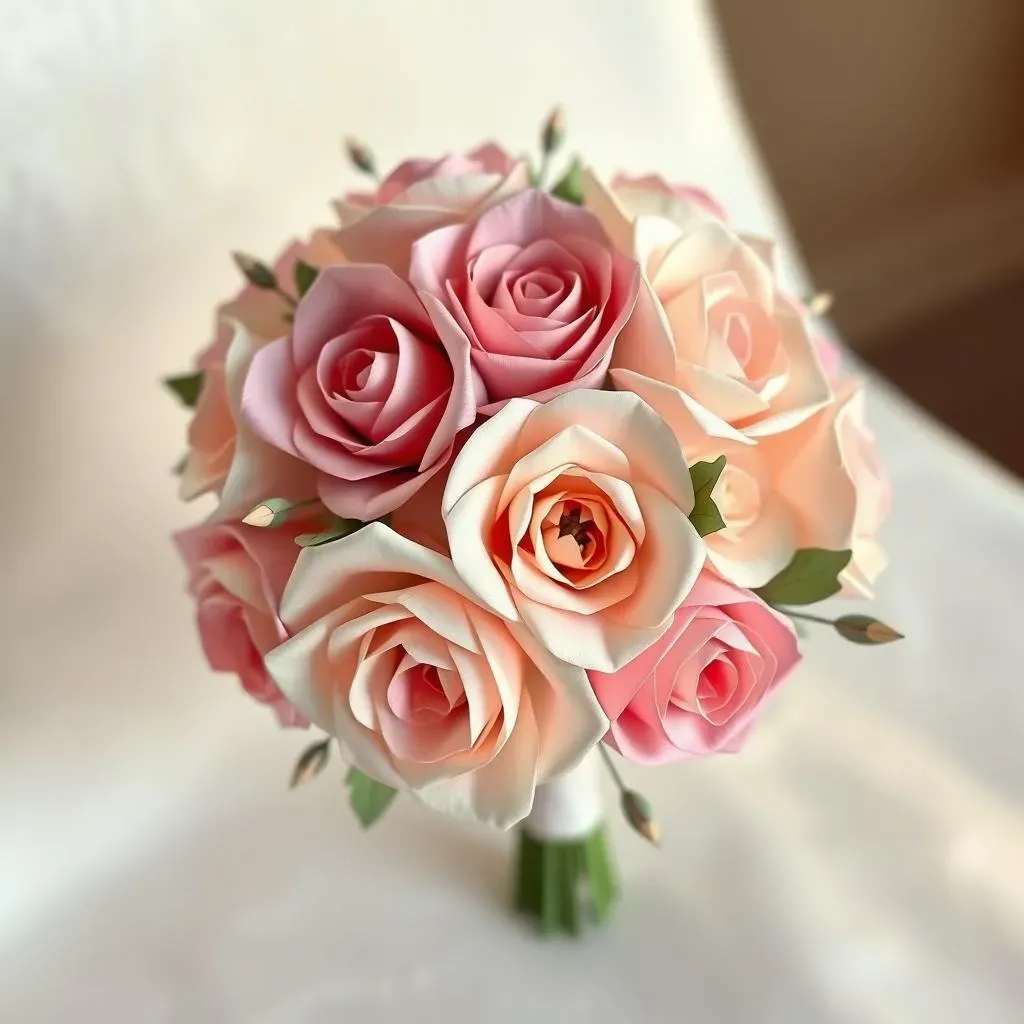
For a sophisticated and timeless look, consider a classic round or cascading bouquet. Think lush layers of paper roses in a monochromatic palette, perhaps varying shades of ivory, blush pink, or deep red. This style is incredibly versatile and complements almost any wedding theme, from rustic chic to formal elegance. You can easily adjust the size and density to suit your preferences and dress. A smaller, more compact bouquet is perfect for a simple ceremony, while a larger, cascading bouquet makes a grand statement.
The beauty of a classic bouquet lies in its simplicity. It's the perfect canvas to showcase the exquisite detail of your handmade paper roses. You might even consider adding some delicate greenery or ribbon for an extra touch of refinement. Remember, less can often be more, allowing the elegance of the roses to shine through.
Bouquet Style | Color Palette | Ideal Wedding Theme |
|---|---|---|
Round | Monochromatic (e.g., various shades of pink) | Rustic, Classic, Romantic |
Cascading | Blush, Ivory, Cream | Formal, Vintage, Elegant |
Modern Minimalism: A Bold Statement with Simple Designs
If you're drawn to modern aesthetics, a minimalist bouquet is the perfect choice. Focus on a single color or a limited color palette. For instance, a bouquet of deep burgundy roses or a combination of white and dusty rose could be striking. The arrangement itself should be clean and structured, perhaps a simple hand-tied bouquet or a sleek arrangement in a modern vase. The key is to let the beauty of the roses speak for themselves, without unnecessary embellishments.
Think about the overall feel of your wedding. Do you want a dramatic look? Or something more understated? The minimalist approach lets you play with texture and color in a really interesting way. Consider incorporating different paper types or adding metallic accents for subtle texture and visual interest. This approach allows for a unique, personalized touch that reflects your individual style.
- Single color palette (e.g., all white or deep red)
- Clean lines and structured arrangement
- Minimalist vase or no vase at all
- Consider different paper textures for added interest
Creating Stunning Paper Roses for Your Bouquet
Creating Stunning Paper Roses for Your Bouquet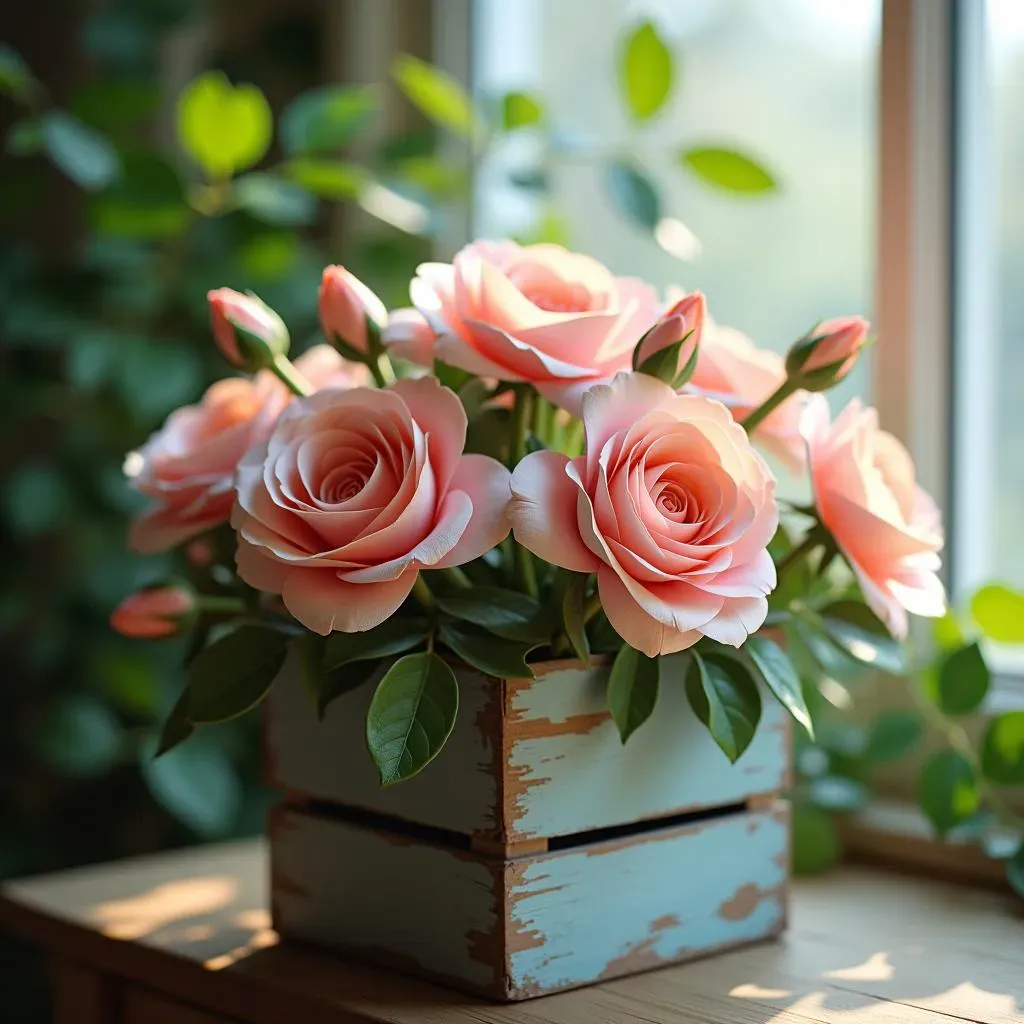
Mastering the Art of Paper Rose Creation
So, you're ready to dive into making paper roses? Fantastic! The key to stunning paper roses lies in attention to detail and a few clever techniques. Forget flimsy, flat flowers; we're aiming for realistic, beautifully textured blooms. Start by choosing your paper wisely. Crepe paper is a popular choice for its texture and ability to hold a shape, but you can experiment with other materials like tissue paper, cardstock, or even book pages for a unique vintage effect. The color and pattern of your paper will heavily influence the final look of your roses, so select something that complements your chosen style and wedding theme.
Next, you'll need a template. Many free templates are available online, but you can also design your own. The beauty of this is that you can customize the size and shape of your petals to create unique roses. Experiment with different petal shapes to achieve various looks – some more rounded, others more pointed. A good template will guide you through creating the individual petals, which are then carefully shaped and assembled to form the rose. Don't be afraid to experiment! A slightly imperfect rose often adds to its charm. The secret is in the layering and shaping of the petals to create depth and realism. Think about the delicate curves and soft folds of a real rose. Try using tools like a bone folder or your fingers to gently shape the petals, creating natural-looking curves and creases.
Paper Type | Pros | Cons |
|---|---|---|
Crepe Paper | Easy to shape, readily available, wide range of colors | Can be delicate, may tear easily |
Cardstock | Durable, holds its shape well | More difficult to shape, fewer color options |
Tissue Paper | Lightweight, delicate look | Can be difficult to work with, easily tears |
Adding Texture and Realism
Once you've mastered the basic rose-making technique, it's time to elevate your creations to the next level. Adding texture and realism is crucial for achieving a truly stunning bouquet. One simple trick is to gently distress the edges of your petals. This can be done by lightly sanding the edges or using scissors to create subtle, uneven cuts. This creates a more natural-looking petal, mimicking the imperfections of real flowers. Another technique is to use different shades of the same color to create depth and dimension. For example, you might use a lighter shade for the center petals and a darker shade for the outer petals, creating a gradient effect.
Don't underestimate the power of subtle details. Consider adding veining to your petals using a fine-tipped marker or paint pen. This adds a touch of realism and complexity. For a truly unique touch, experiment with different techniques like embossing or distressing the paper to create a more aged or vintage look. Remember, there are no hard and fast rules. The most important thing is to have fun and experiment until you achieve the look you desire. Your unique style will shine through!
- Distress petal edges for a natural look
- Use multiple shades for depth and dimension
- Add veining to petals for realism
- Experiment with embossing or distressing techniques
Assembling Your Paper Rose Wedding Bouquet: StepbyStep
Assembling Your Paper Rose Wedding Bouquet: StepbyStep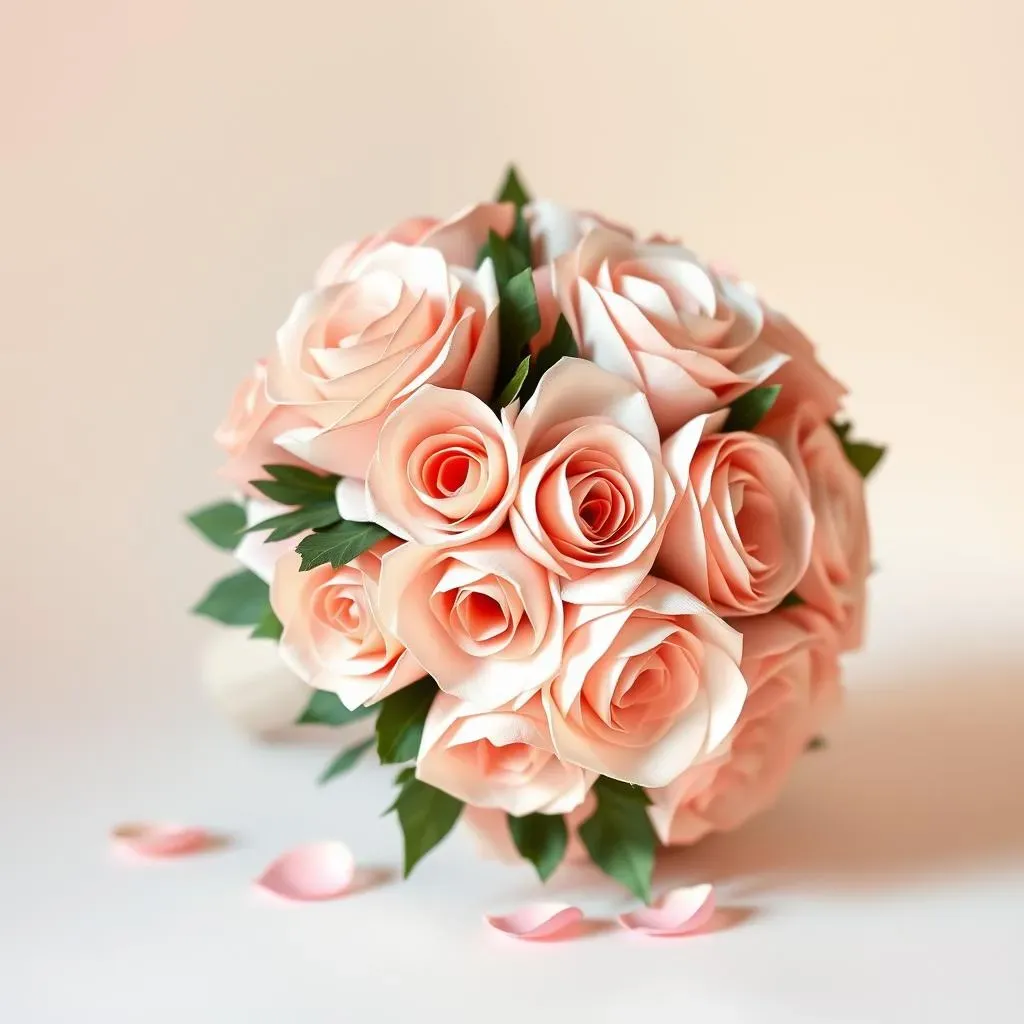
Assembling Your Paper Rose Wedding Bouquet: A Step-by-Step Guide
Alright, you've got your gorgeous paper roses ready – congratulations! Now for the fun part: assembling your masterpiece. First, decide on your bouquet's shape. Do you envision a classic round bouquet, a cascading waterfall of blooms, or something more modern and minimalist? Sketching a quick design beforehand can be helpful. Next, gather your supplies: floral wire, floral tape (or hot glue), and any extra embellishments like ribbon, greenery, or pearls. The wire will act as the stem of your roses, providing structure and support for the bouquet.
Start by creating small bundles of roses. Depending on your chosen bouquet style, these bundles will be of varying sizes. Secure each bundle tightly using floral wire, twisting the wire securely around the stems. Once you have several bundles ready, start arranging them together. If using floral tape, wrap the bundles together, creating a cohesive structure. If using hot glue, apply it sparingly to avoid damaging the paper. Remember to keep the overall shape of your bouquet in mind as you arrange the bundles. For a round bouquet, keep the bundles relatively close together, creating a full and lush look. For a cascading bouquet, arrange the bundles in a more staggered fashion, allowing them to cascade gracefully. Once you're happy with the arrangement, secure the entire bouquet with more wire or tape. Finally, add any finishing touches – ribbon, greenery, or other embellishments – to complete your unique paper rose wedding bouquet.
Step | Action | Tip |
|---|---|---|
1 | Create small bundles of roses | Use floral wire to secure bundles tightly |
2 | Arrange bundles together | Consider bouquet shape (round, cascading, etc.) |
3 | Secure bouquet with wire or tape | Use hot glue sparingly (if using) |
4 | Add finishing touches (ribbon, greenery) | Personalize your bouquet! |
Adding Greenery and Finishing Touches
While the paper roses are the stars of the show, don't underestimate the power of greenery and other embellishments in adding depth and visual interest to your bouquet. Consider using artificial greenery – readily available at craft stores – to mimic the look of real foliage. Choose colors and textures that complement your roses, creating a harmonious blend. You can also incorporate other elements, like pearls, ribbons, or even small decorative charms, to add a personalized touch. For instance, small crystals could add a touch of sparkle, while ribbons can add a pop of color or texture.
Remember, your bouquet is a reflection of your style and personality. Don't be afraid to experiment with different combinations of elements until you achieve the perfect look. This is your chance to personalize your bouquet, making it truly unique and special. Think about the overall style of your wedding – is it rustic, modern, romantic, or something else entirely? Let these elements guide your choices, ensuring that your bouquet complements your overall aesthetic. The final touches will truly bring your vision to life!
- Use artificial greenery to complement your roses
- Incorporate pearls, ribbons, or other embellishments
- Consider the overall wedding style when choosing elements
- Experiment with different combinations until you find the perfect look
Preserving and Displaying Your Paper Rose Wedding Bouquet
Preserving and Displaying Your Paper Rose Wedding Bouquet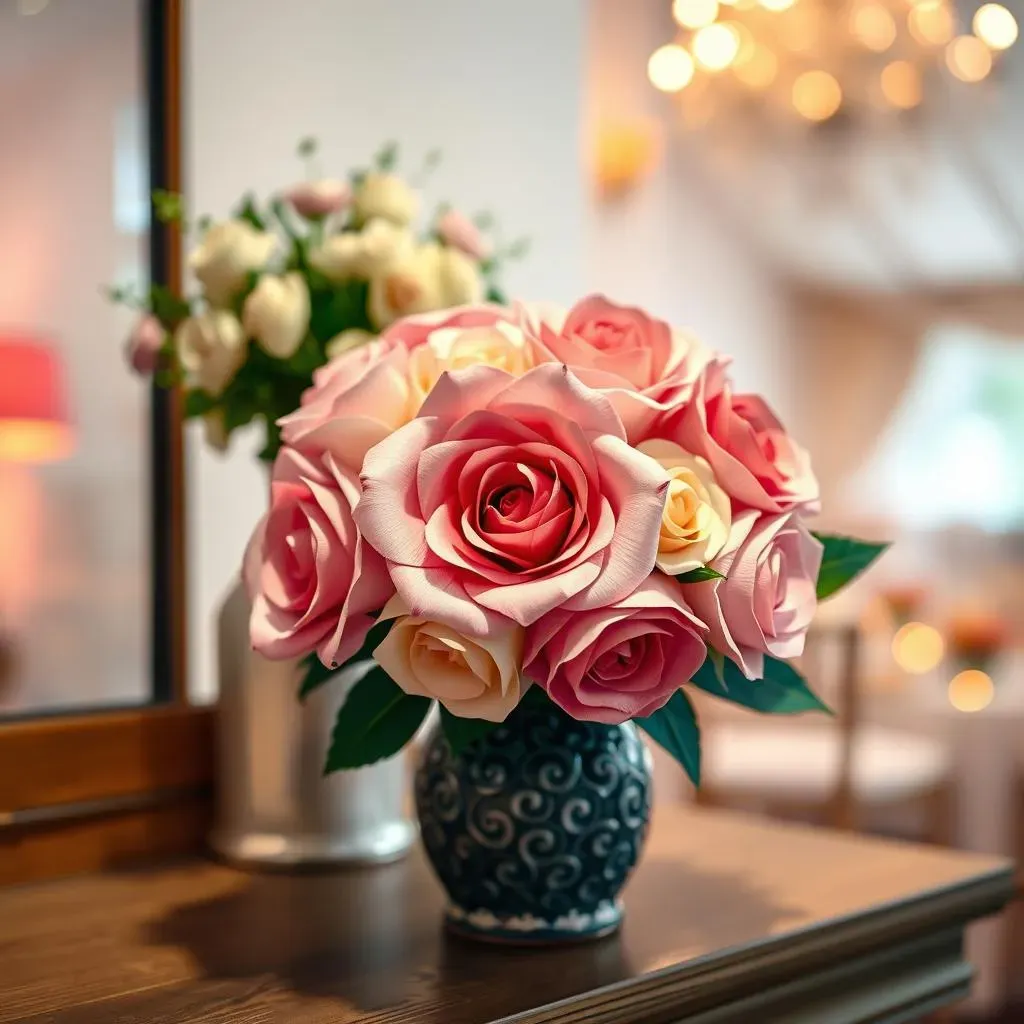
Protecting Your Paper Floral Masterpiece
Your beautiful paper rose wedding bouquet deserves to be treasured for years to come. Proper storage is key to preserving its vibrant colors and delicate details. Avoid direct sunlight, as this can cause the colors to fade over time. Store your bouquet in a cool, dry place, away from excessive humidity or temperature fluctuations. A protective display case or a box lined with acid-free tissue paper is ideal. You might also consider using a desiccant pack to absorb any excess moisture and prevent mold or mildew.
Remember, dust is a bouquet's worst enemy! Regularly dust your bouquet using a soft brush or a compressed air canister. Avoid using harsh chemicals or cleaning solutions, as these could damage the delicate paper. Gentle care will ensure your bouquet remains a stunning reminder of your special day for years to come. It’s a beautiful heirloom you can pass down, a testament to your creativity and craftsmanship.
Storage Location | Pros | Cons |
|---|---|---|
Acid-free tissue paper-lined box | Protects from dust, light, and humidity | Requires careful handling |
Display case | Allows for easy viewing, protects from dust | Can be more expensive |
Displaying Your Paper Rose Wedding Bouquet: Ideas and Inspiration
Now that you've carefully preserved your paper rose wedding bouquet, it's time to give it the display it deserves! One option is to place it in a prominent spot in your home, perhaps on a mantelpiece or a shelf. Consider using a decorative vase or stand to showcase your creation beautifully. You could also incorporate it into your wedding decor, perhaps using it as a centerpiece at your reception or a unique focal point in your home. The possibilities are endless!
Think creatively! Your paper rose wedding bouquet isn't just a decorative item; it’s a work of art. Consider framing a smaller version of your bouquet to create a unique piece of wall art. Or use it as a centerpiece for future celebrations. Remember, the goal is to create a display that reflects your personal style and taste, making your bouquet a truly cherished heirloom. Don't be afraid to experiment with different display ideas until you find the perfect way to showcase your amazing creation!
- Display in a decorative vase or stand
- Incorporate into wedding decor
- Frame a smaller version as wall art
- Use as a centerpiece for future celebrations